Hello crafter's! I hope you're all well.
I'm back with another tutorial for you. This time, something a little different for me - a 3d project in the way of a little treat bag.
These are great for stuffing with treats and gifting to the wider family children, neighbours, teachers etc.
Don't run scared because this looks complicated! It honestly is easy peasy. I'm not the biggest fan of 3d projects but this was a breeze. I've broken it down into really simple steps for your ease....
Cut a piece of construction weight card in a complimentary colour to your decorative paper:
1 x 8 1/2" x 3"

Cut 2 pieces of construction weight card in a complimentary colour to your decorative paper:
2 x 2 1/2"

Score and fold your 2 smaller pieces on 3 sides at 1/2"
Score and fold your larger piece at 2" and 3 1/2"

Snip away a section from the 'junctions' of the folds in the 2 smaller pieces, like so:

Fold in the 'flaps' and adhere to the sides using wet adhesive.
Now, between the folds on your larger piece, attach the 2 smaller pieces using double sided tape. I recommend red liner tape for construction.
Remove the cover from the bottom piece of tape and attach. Remove the cover from 1 side, bring up the larger piece and attach. Then, repeat with the final side. Do each piece in consecutive steps, as below:

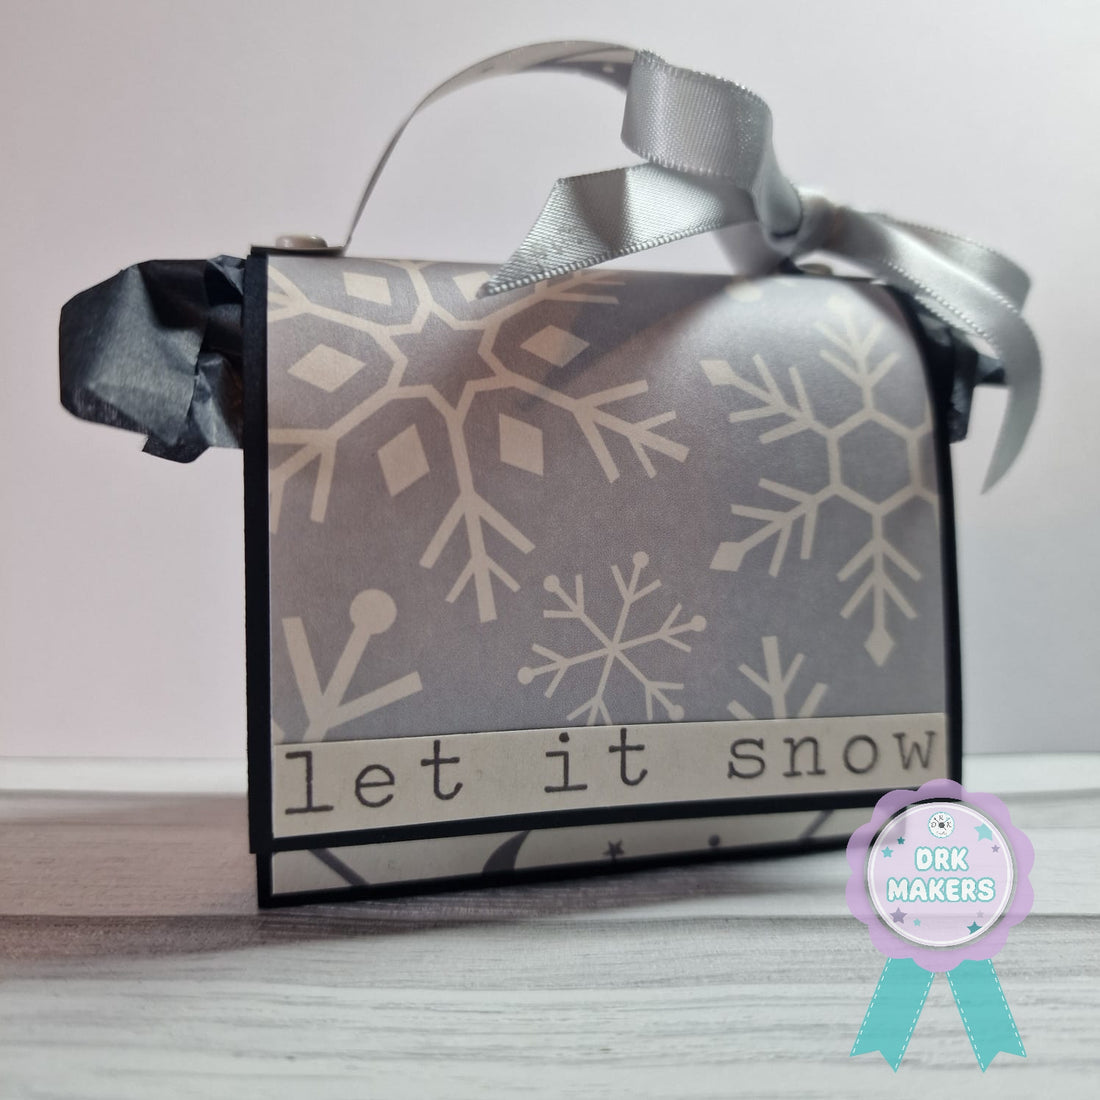
Cut panels from your choice of decorative paper and cover your construction card. I used Paper Addicts Arctic Wonder 12" paper pad. I covered the front of the box, both sides and the entire larger fold over section.

Attach a hook and loop to fasten the treat box. (these are great value and available in black and white!)
TOP TIP: secure the hook and loop to one another, attach where you need it to go on the base then bring the lid over it to establish where you need it to close, then press to secure to your lid.

Create a little handle for your treat bag by cutting a piece of card 4" long and 1/2" wide. Score and fold either end at 1/2" and secure to your lid with brads.

To finish, I cut a sentiment from the same paper pad and adhered with wet adhesive. Decorate with a complimentary bow tied around the handle.
Now all that is left is to fill with treats!
I hope you enjoyed this tutorial.
Until next time, take care.
Love, Dani xx
-----------------Shopping List-----------------
* Construction card in your choice of colour
* 2 x Brad's
* Wet adhesive
* Ribbon in your choice of colour
* Double sided tape