Hello crafter's! How are we all?
Who, like me, is a little obsessed with stationery? It's usually quite a few of us. Us crafter's normally have a penchant for pretty stationery too!
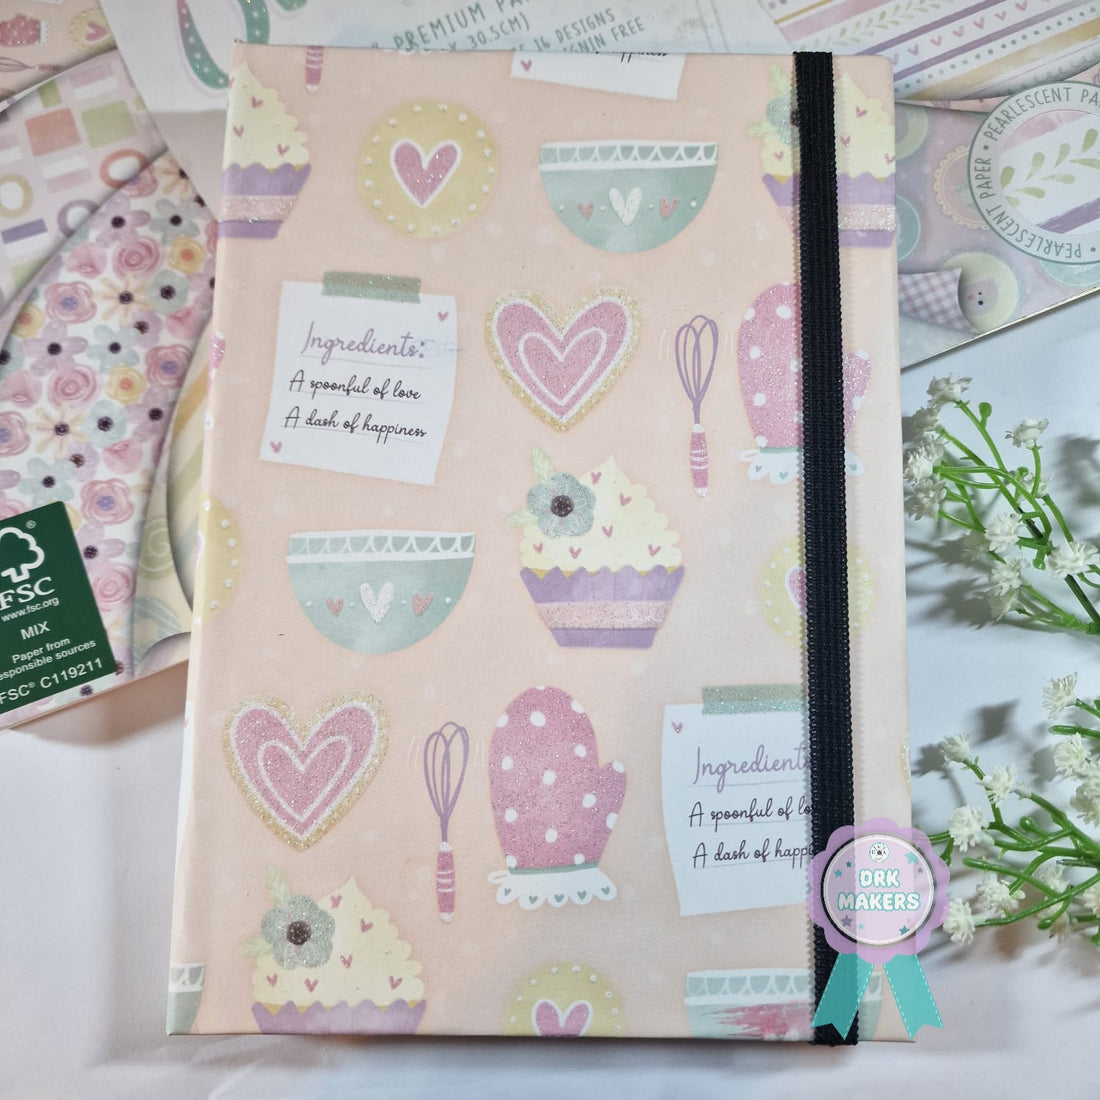
When I create a project, I write all the details of the project in a notebook that I keep and refer back to when I'm either making another of that project or blogging about it. I found this really boring kraft notebook in my stash and decided to give it some life and so out came my pretty papers!
I chose the First Edition Oh So Sweet 12 x 12 paper pad as this particular paper was a recipe theme, much like how card making and project making is a recipe.
So, I'll talk you through how I easily transformed this notebook into something I'm now itching to use!
I laid my paper down so the side I wanted showing was face down. Atop of that, I placed my notebook front face down. I didn't want to cover the whole notebook, just the front cover, so I trimmed the paper down to leave approx 1cm around each edge. For the spine, I double that as it needs to cover the thick spine and then have an allowance to create a seam on the back cover.
For each of the corners of the notebook, I trimmed the corners of the paper off, like so:

Now I flipped my notebook over so it was the right way up, front facing. I covered the front cover in Modge Podge Adhesive. A good thick PVA or book binding glue will also suffice. Then, I flipped it back over into it's original position so that it was face down. Then again, once the adhesive had grabbed the paper, I flipped it all back over and firmly rubbed the paper onto the cover to ensure all areas of the front cover were firmly fixed.

Now, I tackled the spine. This potentially is the hardest part depending on how the notebook is put together. I ensured the pages weren't fixed at the top and bottom of the spine so that I could tuck my paper tabs between the spine and the pages.
First, I applied Modge Podge to the spine of the notebook and fixed the paper down. At the top and bottom of the spine, I snipped into the paper either side of it. I applied some Modge Podge to these tabs and 'tucked them in' between the pages and the spine.

I then applied glue to the part of the paper that is to cover the spine and firmly pressed this into place, adhering the top and bottom to the inside of the back cover.
Finally, I applied Modge Podge to the 3 remaining outside flaps of paper and carefully folded them in to the front cover and pressed them firmly in place.
TOP TIP: avoid spillage of the glue as, although it dries clear, it will be visible. Mop up any spillages straight await to they're less visible.
No need for boring notebooks any more!
Until next time, take care.
Dani xx
* First Edition Oh So Sweet 12 x 12 paper pad https://drkcrafts.co.uk/products/first-edition-fsc-12x12-paper-pad-oh-so-sweet?variant=44463735963894
* Plain Notebook to cover
* First Edition Deco Machè & Brushes
* Scissors/scalpel

