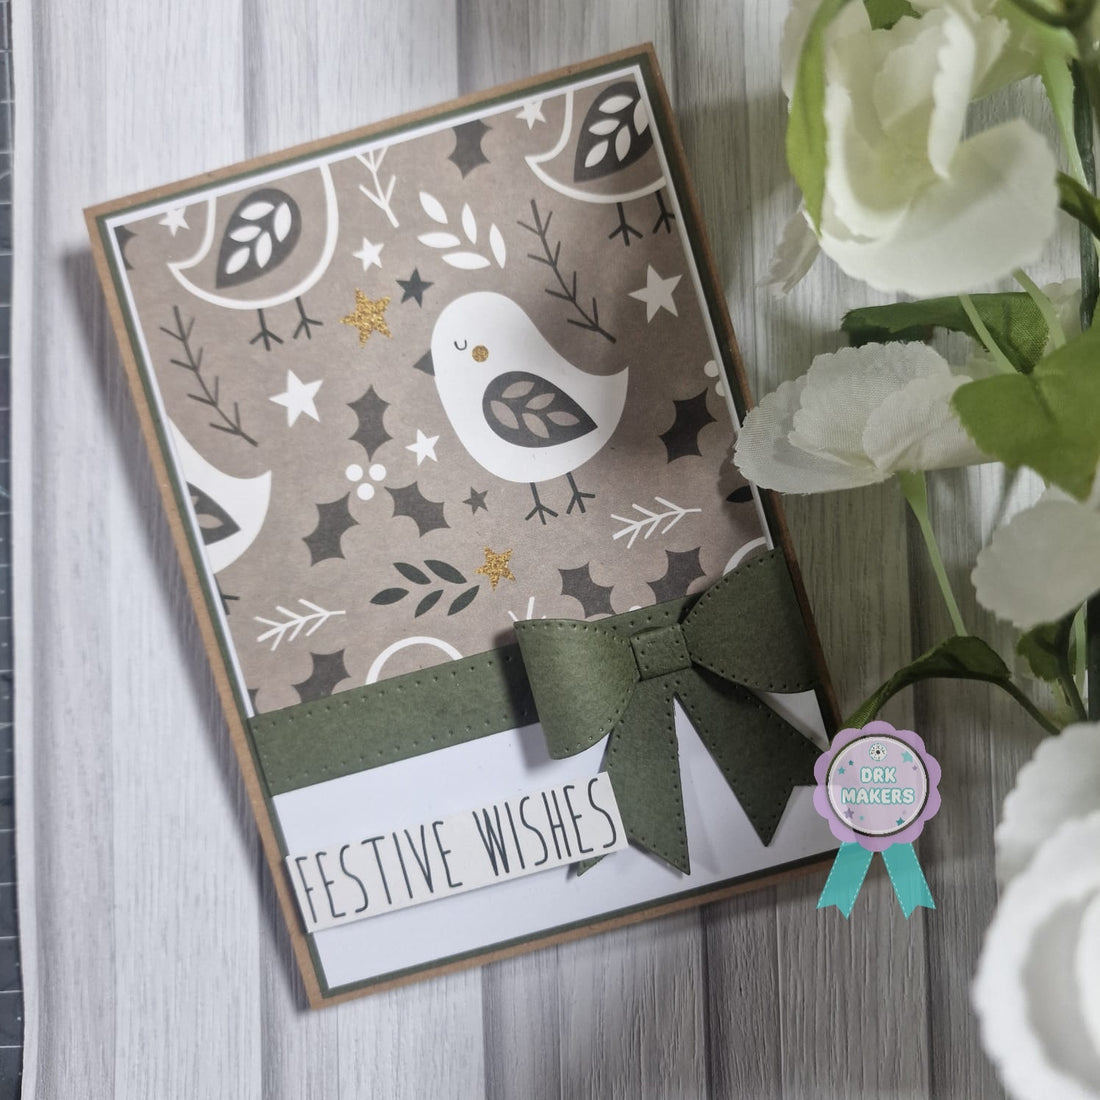
Hello crafter's. I hope you're well.
Today I'm back with another Christmas card tutorial for you. Now, now. Let's not deny it - Santa will be setting off soon so if you haven't already started your Christmas cards, you'd better get cracking! Haha!
This is a really quick and simple card. I'll take you through it...
I started by preparing a top fold UK A6 card base from some Kraft card.
From the Festive Luxe 12in Paper Pad https://drkcrafts.co.uk/products/paper-addicts-festive-luxe-12x12-paper-pad?_pos=1&_sid=bf400155f&_ss=r , I trimmed down a choosing of the pattered paper to approx 2/3 the length of size of the card front (approx 5mm smaller width) and a piece of White card to approx 4mm smaller around each edge than the card front.

I now trimmed some Pine green card down to approx 3mm smaller round each edge than the card front.
I hate wastage and the majority of this green card wouldn't be seen so I hollowed out the centre with my craft knife to use another time, like so...

I layered everything up using wet adhesive. So, green borger first onto my card blank, white on top and lastly the Pattered card.

Where the patterned card stopped, across this I put a paper bow. You could also use a fabric ribbon.

Lastly, from the same paper pad, I trimmed a sentiment from one of the sentiment sheets. I love that this pad comes with sentiments! You have everything you need in one place.
I stuck this into place using foam tape.

This completes the card.

I hope you like it!
Until next time, take care.
Love,
Dani xx

