Hello there lovely crafters! I'm Terri and am I am delighted to be part of the newly formed DRK Makers Team of fabulous creatives! We all have different styles and skill sets, so will be bringing you lots and lots of lovely crafty inspiration over the coming year.
For my first project, I was so torn between 3 different projects I wanted to make. Maybe you'll see the others I have supplies for in coming months, as my first delivery from DRK Promotions was packed full of crafty goodness!
I don't know about you, but if you're a card maker or scrap booker, you probably adore pretty paper pads. I do and chose about 6 different First Edition Pads in varying sizes, some of which were in the sale (I also love a bargain!). I absolutely fell in love with the Arctic Wonderland Paper Pad and bought the 8 inch square pad.
I was also absolutely blown away by the super cute range of small "Simply Creative" Christmas stamps and dies available in the store. I love to colour, in various mediums, so after much deliberation I decided to show you how to batch make Christmas Cards, in a really easy way. Plus, its never too early to get started on our Christmas Cards now is it?
First I gathered my supplies - the paper pad, some Dovecraft Kraft card blanks and envelopes, some cute little Christmas critter stamps and a sentiment die:

Next I planned out my card design. Even though the stamps are tiny (and did I mention only 75p?!?) you can still definitely use small stamped images on a large card like these 5 x 7 inch cards, especially with a paper pad as gorgeous as the First Edition Arctic Wonderland. I sacrificed a card blank to make some 3 x 5 inch panels, on which to stamp my images. I then decided I wanted a large mat layer, to show off the gorgeous paper and a smaller mat layer to mount the stamped and eventually coloured kraft card panel onto. See the dimensions I used here:

Next, I stamped my Robin image in a really pale coloured ink, so once it was dry I could see it enough to use as a colouring guide, along with the stamp packaging. I then coloured up my little Robin using my new favourite addiction, coloured pencils. I love how I was able to make him look so fluffy, like it was a really cold wintery day and he was fluffed up to keep himself warm. Coloured pencils are great for fine detail work on small stamps I find. Plus, you can get really great depth, dimension and highlights, by using dark tones in the areas of shadow and then really light tones and a white pencil for the areas where the light would be brightest.

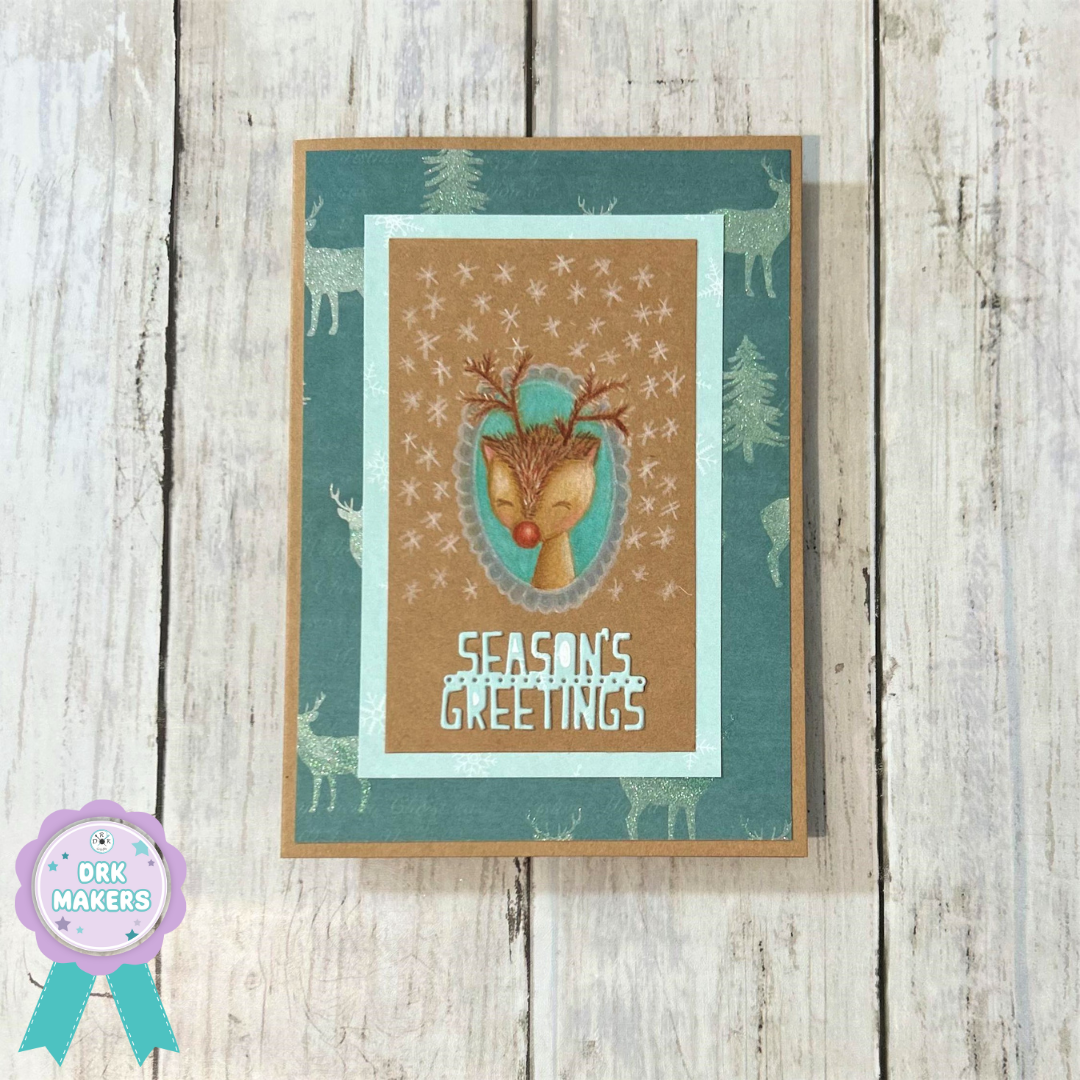
I then cut the Simply Creative "Seasons Greetings" sentiment twice, from the same paper used on my card and glued them together for extra dimension, before adding it to the card, just below the robin. I do love dimension and texture on my cards.

Then, I followed the same process, using a sweet deer and a cute penguin stamp and different papers from the pad. You can see all 3 cards together here, along with close ups of individual images.


I hope you have enjoyed today's blog post and feel inspired to get creating. Maybe even getting an early start on your Christmas cards? I look forward to bringing your much much more inspiration over the coming months.
If you'd like to check out more of my work, you can find me on the following Socials. I'd love to interact with you in the Craftiverse and to know what you think of my first project as a DRK Maker! Happy Crafting, Terri xx
My social media platforms are:
Instagram: @veegstez https://www.instagram.com/veegstez/
Facebook: Veegstez Creates https://www.facebook.com/VeegstezCreates

