Hey Crafters…
Today I would like to show you how to create the cutest little spiders for your Halloween décor. This is really easy to make and can be something you and your little ones can enjoy making together.
Download your template here....

When you have downloaded your template, start by cutting out all the pieces you need to create the spider. If you are planning to make more than one of these you can get creative by making your own eyes and mouth for your spider.

Because I have already made a spider I used the template as a guideline so i can get the sizes right and just went on to create my own face for this one.

I then started cutting out all my little body pieces needed to create my spider on the cardstock of my choice. You can check out Drk_Crafts online store for some amazing paper pads perfect for craft creations, like the Dovecraft A4 Black Card.
I started with the body of my spider, by putting glue on and sticking the two ends together making it a perfect cylinder.


While the body was drying I started folding my spiders legs.
I started at one end giving it a small fold so that it can easily be glued to the body of the spider. I then went on folding all the legs on the dotted lines creating creepy looking legs that makes it look more realistic to an actual spider.

After folding my legs the glue had dried on my spiders cylinder body and I placed a rubber band around it to keeps the legs in their place while their glue dries.

After just a few minutes my glue had dried and my legs were secured. You can use any of these craft glue as they are all great for crafting projects like this one and dries quickly.
I then removed my rubber band and started gluing my spiders face on.

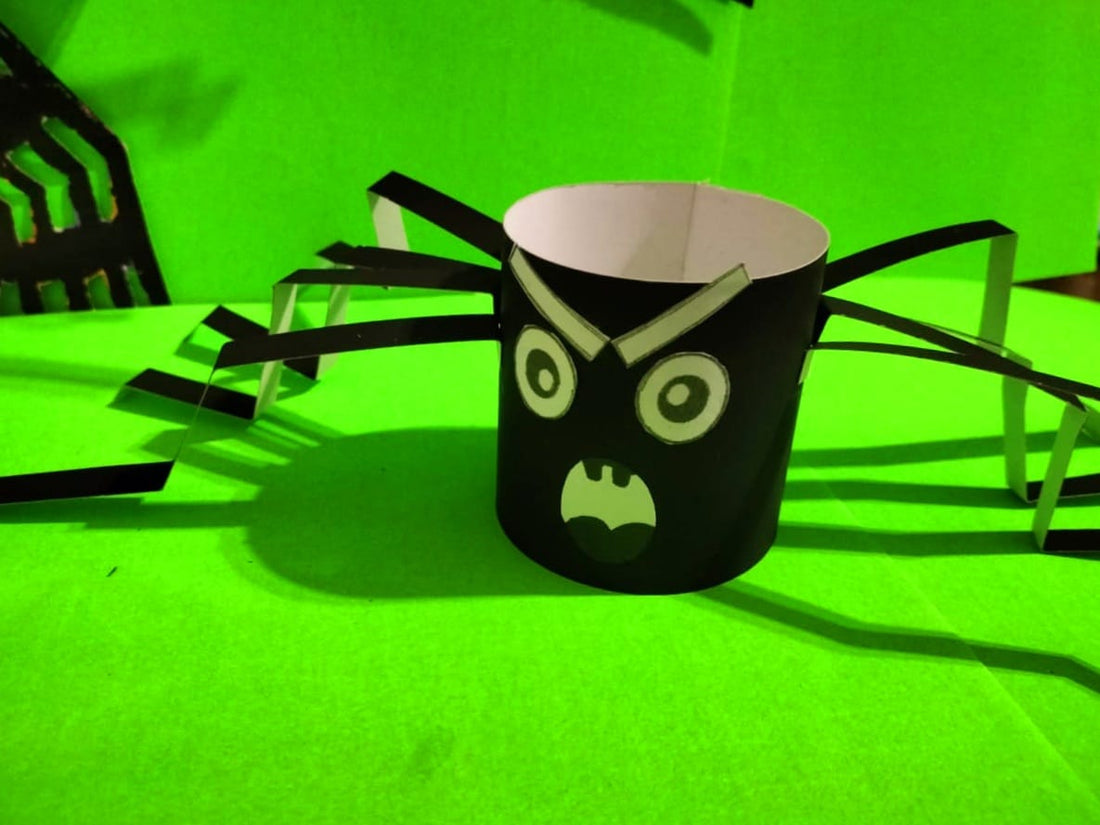
after sticking the face on I added few extra details to my spider to make it look more realistic, and I was done.
Here are both my spiders I made using this template...

I hope you enjoy creating this template
Until next time